What the NGSS Doesn’t Say: Students Learn from Failures

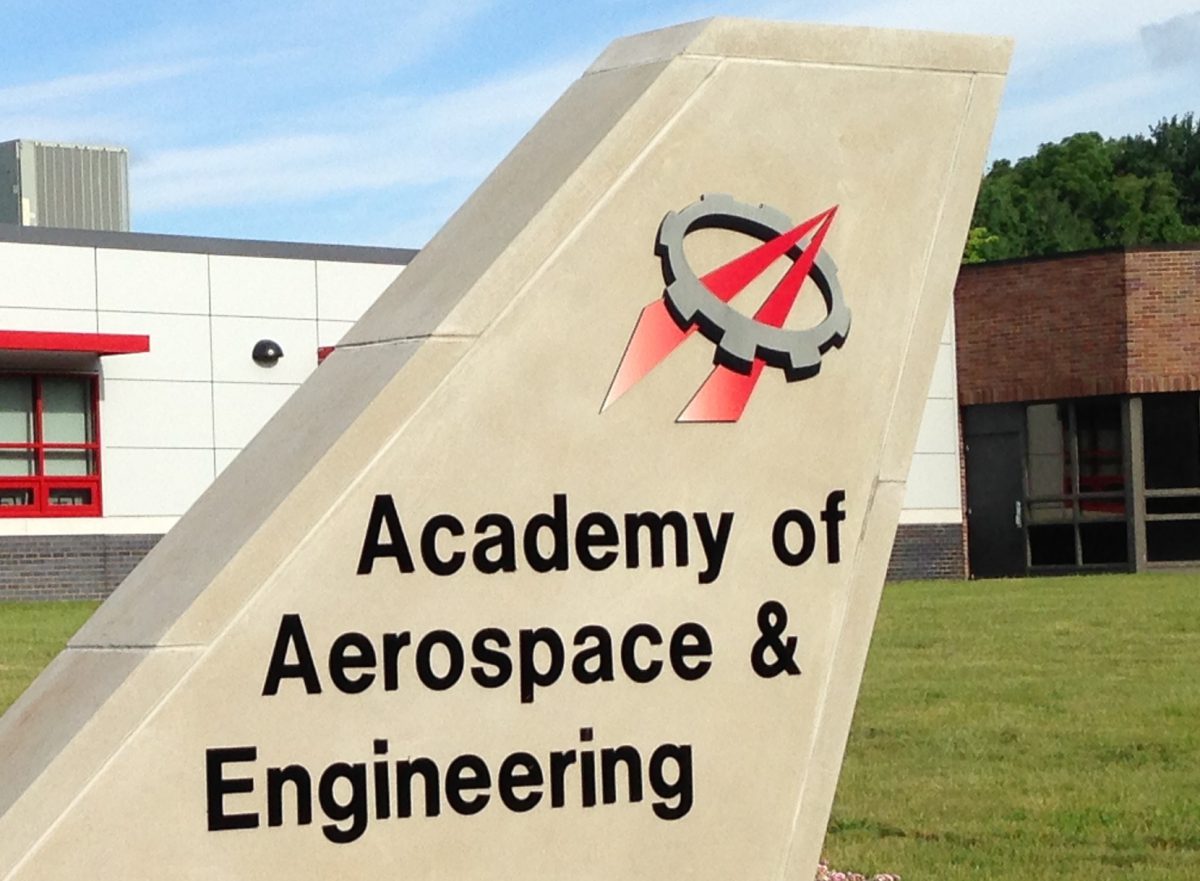
At the Academy of Aerospace and Engineering students have been using model rockets as a medium for learning all aspects of science, technology, engineering, and math (STEM). First they studied the science of rocketry and its history. They also compared rockets and rocket engines to what they had learned about aircraft and jet engines. They learned how to measure altitude using basic trigonometry, a new type of math for them, but related to what they already knew. They did a science lab where they compared the performance of two different commercial model rockets. Then they did an engineering design challenge where they chose one of the two commercial model rockets and improved its design to make it fly higher. This challenge ended with launch tests on May 26th, followed by a class discussion and an analysis of the results. Six student crews (groups of 4 to 5 students) had each redesigned a rocket, changing the body tube, fins, recovery system, and/or nose cone to reduce weight and drag. Out of the six rockets, four achieved the goal of flying higher than the average height achieved by the commercial rocket, as measured during the science lab. One of the six proved to be unstable on launch and went out of control, tumbling end over end and not flying above about 20 feet. One blew up on the launch pad because it would not fly up the launch rod due to faulty construction. Because we had followed the Safety Code of the National Association of Rocketry, everyone was well clear of the launch area and nobody was ever in any danger from these mishaps. Therefore, four crews achieved success, and two crews failed in their design. I told the students I was glad these failures had happened…what?! Let me explain why.

The Next Generation Science Standards (NGSS), which were adopted by the state of Connecticut this year and guide our curriculum, have a major section dedicated to engineering design. I incorporated these standards in the academy curriculum as I wrote it last year. Here are the standards for middle school students that I use:

  • ETS1.A: Defining and Delimiting Engineering Problems
    • The more precisely a design task’s criteria and constraints can be defined, the more likely it is that the designed solution will be successful. Specification of constraints includes consideration of scientific principles and other relevant knowledge that are likely to limit possible solutions. (MS-ETS1-1)
  • ETS1.B: Developing Possible Solutions
    • A solution needs to be tested, and then modified on the basis of the test results, in order to improve it. (MS-ETS1-4)
    • There are systematic processes for evaluating solutions with respect to how well they meet the criteria and constraints of a problem. (MS-ETS1-2), (MS-ETS1-3)
    • Sometimes parts of different solutions can be combined to create a solution that is better than any of its predecessors. (MS-ETS1-3)
    • Models of all kinds are important for testing solutions. (MS-ETS1-4)
  • ETS1.C: Optimizing the Design Solution
    • Although one design may not perform the best across all tests (my underline), identifying the characteristics of the design that performed the best in each test can provide useful information for the redesign process—that is, some of those characteristics may be incorporated into the new design. (MS-ETS1-3)
    • The iterative process of testing the most promising solutions and modifying what is proposed on the basis of the test results leads to greater refinement and ultimately to an optimal solution. (MS-ETS1-4)

What these standards do not specifically say is that a design may fail to solve the problem. In other words, the student should expect that a design not only “may not perform the best across all tests,” but it might actually not perform at all — it might be a complete failure, as two out of the six rocket launch tests were. But what failure shows in stark reality to students is that the design did not work, and if this lesson is emphasized correctly, students will learn much more and remember the lesson much better than if everything worked and went smoothly. How did I do this with the rocket failures? I first have told the students all year that failure is part of the journey to success. We looked at many real-world examples, especially the record of SpaceX’s attempt to bring a rocket back and land it after launch. In December, right after SpaceX had achieved success in this attempt for the first time and after many failed attempts, we had a guest speaker, Eric Womer, who was a graduate of our middle school and is now a propulsion engineer for SpaceX. He explained very clearly how SpaceX and its founder, Elon Musk, have persevered through many failures to achieve success. Throughout this school year, my students have done several engineering design challenges, and in each one, some crews succeeded and some failed in their initial designs. Each time we discussed the results and learned from them. Now students are used to failure as a normal consequence of trying something new.

Yesterday I attended the graduation of my oldest son from Rensselaer Polytechnic Institute. One of the speakers at the graduation was renowned physicist, Steven Weinberg. The gist of his speech was that he learned the most in life from the times he was completely wrong about something. He gave a few examples, but essentially he was saying that he had learned from his failure to understand something correctly. In seeing his failure, he had been forced to reexamine what he had believed to be true, then he started over and rebuilt his beliefs. This is the same process as an engineer follows when a design proves to be a failure. In all cases, failure is just one of the expected steps on the road to new discoveries and ultimately to success. We are learning this at the Academy of Aerospace and Engineering, and maybe someday it will be in the NGSS.

Here are photos from the launch tests:

IMG_2597
Six Redesigned Rockets Ready for Launch
IMG_2617
Successful Launch Begins with Good Ignition and Flight Up the Launch Rod
IMG_2643
Successful Launch Clears the Launch Rod and Flies Straight Up
IMG_2697
Successful Launch Climbs Straight Up (Curvature Due to Wind)
IMG_2700
Watching a Successful Launch
IMG_2678
Rocket Fails to Launch and Blows Up on Pad Due to Faulty Construction

Learning the Engineering Design Process with Model Rockets

Students at the Academy of Aerospace and Engineering are in the final weeks of school, so we are doing our last engineering design challenge. Each challenge follows the NASA Engineering Design Process. Students first get a problem to solve, then they do research to see what has been done before and what might apply to their problem. They brainstorm ideas to develop a solution, then they finally pick the best design that meets the criteria of the problem. Finally, they build and test a prototype to develop a final solution. They document all these steps and their daily activities in an engineering notebook. Our current aerospace theme is about rockets, so the last design challenge is to improve a model rocket design. A couple weeks ago, the students got two different model rocket kits, an Estes and Viking, and they conducted a lab to test their respective performances. See my last post for details on this lab. The engineering design challenge I presented to them was to develop an improved version of either of these rockets – namely, they had to develop a model rocket that would fly as high as possible, and higher than the commercially available rockets.

To meet the challenge, student crews (groups of 4 or 5 students) first did research and brainstormed ideas. We also reviewed the basic physics of rocket flight and the forces involved. Students understood that for the rocket to fly higher, it needed to have the least amount of weight and drag. Each student crew then worked on their initial designs. When they presented these designs to me, before anything was built, I was not impressed. The designs had minimally changed the commercial rockets, making very small changes to the original designs. I told the students to go back to the drawing board and be more bold and innovative. They took this challenge and developed much better designs that changed almost every aspect of the commercial rockets. The redesigned new fins using new materials, they used computer aided design (CAD) to 3D print new nose cones, they redesigned the recovery systems, and they changed the body tubes. We are finishing these new rockets by early next week and plan to launch and test them on Thursday, May 26th, weather permitting.

Here are photos of the students developing their rocket designs and constructing various components:

IMG_2578IMG_2582IMG_2574 IMG_2580 IMG_2581 IMG_2583 IMG_2584 IMG_2586 IMG_2576IMG_2587

Modeling STEM with Model Rockets

After a washout last week with rain everyday, this week at the Academy of Aerospace and Engineering we finally started launching model rockets. Many schools use model rockets in one way or another, often as a “fun” lesson at the end of the year. Rockets are always fun, but they can also be the basis of a rigorous science, technology, engineering, and math (STEM) unit. I used model rockets to model many different real-life STEM activities and careers with my students:

  • The students studied how real rockets work and compared rocket engines to jet engines which we had studied earlier in the year.
  • They studied the National Association of Rocketry’s Model Rocket Safety Code and took a safety quiz that required a 100% pass rate. I explained how Air Force pilots must memorize safety procedures and cannot fly until they prove 100% proficient in safety and emergency procedures.
  • They had a choice of two model rocket kits to build and chose those that met the objectives of an experiment they devised. Each student crew (group of four) had two model rockets to build. Designing their own experiment is now standard procedure for my students.
  • They built their model rockets by following the kit’s directions and with minimal help from me. Some mistakes were made, and the students had to figure out how to fix them. We discussed how this related to actual engineering projects where building anything never goes exactly according to plan.
  • They learned about rocket forces and stability, relating these to what we learned earlier in the year about airplanes. Then they measured their rocket’s center of gravity and center of pressure to make sure it was stable.
  • They built and practiced using an altitude measuring device that measured the angle of a model rocket’s apogee (highest point), and they learned how to use trigonometry to calculate the altitude using this angle. They practiced this skill, modeling good measuring techniques.
  • They learned how to set up a rocket range with a launch area (run by a launch control officer), a preparation area (to prepare rockets for launch), an observation area (where students used the altitude measuring devices and timers to measure each launch), and a recovery team (to get the rockets after they landed). We went over this in detail before the first launch. We also practiced using walkie-talkies between the launch control officer (call sign, LCO) and the altitude measuring team in the observation area (call sign, Altitude).
  • We put it all together and launched a total of 25 rockets in two periods yesterday and today – and with no significant problems. The students are analyzing the data from their launches to determine the performance of their rockets. The next step will be for each crew to pick an aspect of the model rocket to redesign and improve, then we will launch their improved rockets in the next couple weeks.

Here are some photos of a launch, plus each crew with their rockets (two rockets were unavailable for photos due to drifting off range)…

IMG_2550
Preparing rocket for launch
IMG_2551
Countdown!
IMG_2556
Ignition!
IMG_2557
Blast Off! Note observers in distance – they measured altitude and time aloft

IMG_2558IMG_2561IMG_2563IMG_2564IMG_2565IMG_2566